
Before You Call a Plumber: Minor Household Repairs Worth Learning
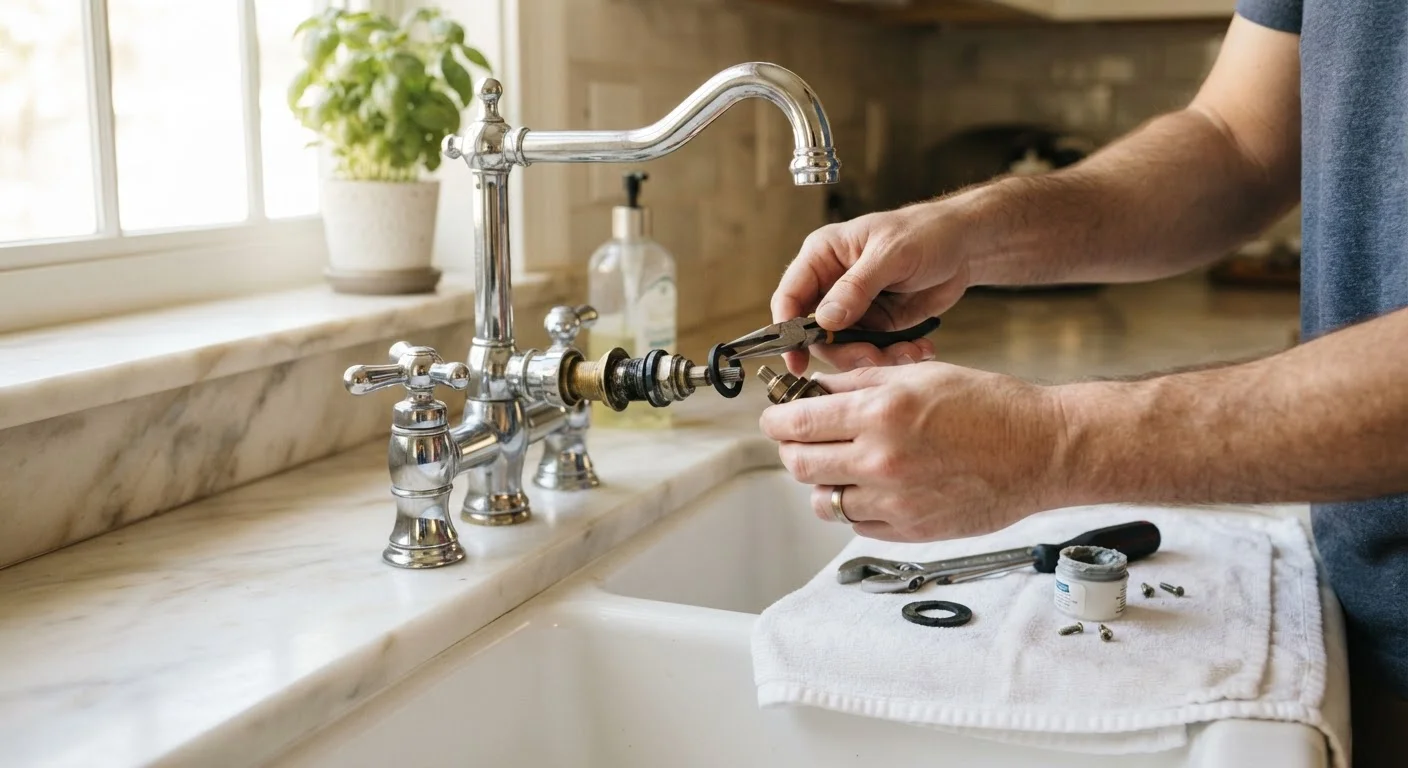
Photo credit: simplefuture.net
In this article
A clear rundown of simple plumbing fixes most homeowners can handle themselves, plus honest guidance on when professional help is the safer call.
Key Takeaways
- Most minor plumbing repairs require only a few basic hand tools and inexpensive parts.
- Shutting off the correct water supply valve before starting is the single most important step.
- Dripping faucets and running toilets waste significant water and raise utility bills over time.
- Some tasks, including work on main supply lines and water heaters, should go to a licensed plumber.
- Permits and local codes govern certain plumbing work; verify requirements before starting.
Why minor plumbing repairs are worth learning
A dripping kitchen faucet can waste more than 3,000 gallons of water per year, according to the U.S. Environmental Protection Agency's WaterSense program. A running toilet can waste even more. Both are repairs most homeowners can complete in under an hour with parts that typically cost under twenty dollars. Learning a handful of targeted fixes gives you real control over your home and your water bill, without requiring extensive trade knowledge.
This checklist covers the repairs that fall within the reasonable reach of an adult with basic DIY comfort. It also calls out clearly where the safer choice is a licensed plumber. If your home has older galvanized or lead supply pipes, stop and consult a professional before doing any work on those lines.
For a broader look at how plumbing efficiency connects to your home's overall operating costs, see our room-by-room energy efficiency reference. And if you are weighing similar decisions in the garage, our guide to DIY car maintenance versus mechanic work applies the same logic to vehicles.
Tools and materials you will need
Gather everything before you touch a fixture. Running to the hardware store mid-repair with water shut off to a bathroom adds time and frustration.
Adjustable wrench
Tightens and loosens supply line nuts, packing nuts, and P-trap fittings.
Basin wrench
Reaches faucet mounting nuts in the tight space beneath a sink.
Slip-joint pliers
Grips and turns P-trap sections and drain assemblies without damaging plastic fittings.
Flathead and Phillips screwdrivers
Removes handle screws and decorative caps on faucets and toilet flush valves.
Plumber's putty and Teflon tape
Seals drain flanges and threaded connections to prevent slow seep leaks.
Replacement washers and O-rings assortment
Covers the most common cause of dripping compression faucets and leaking supply connections.
Toilet flapper and fill valve kit
Replaces the two most common causes of a running toilet in one trip.
Bucket and old towels
Catches residual water when disconnecting P-traps or supply lines.
The repair checklist
Work through each group in order the first time you tackle a new repair type. The preparation steps are not optional: skipping them causes most amateur plumbing mistakes.
Before you start any repair
Fixing a dripping faucet
Stopping a running toilet
Clearing a slow or blocked drain
Replacing a supply line
Do not skip the shutoff step
Attempting to remove a faucet cartridge, P-trap, or supply line without first closing the fixture shutoff valve will release pressurized water immediately. If the fixture shutoff valve is stuck or corroded, close the main house shutoff instead and add replacing the valve to your repair list. Never force a corroded shutoff valve; it can break and leave you with no way to stop the flow without outside help.
When to stop and call a licensed plumber
Some situations are outside the scope of DIY regardless of your skill level. Water heater work, main shutoff valve replacement, sewer line issues, and any job that requires opening walls near electrical wiring all carry risks of injury, property damage, or code violations that make professional help the practical choice. If you see black or sewage-colored water, smell gas near a water heater, or notice water staining that has spread behind drywall, stop work immediately.
Many municipalities require permits for work beyond fixture replacement. Check with your local building department before starting anything beyond the tasks listed here. A repair done without a required permit can complicate homeowner's insurance claims and home sales.
This article is for general informational purposes only and does not constitute professional plumbing, building code, or legal advice. Always verify local permit requirements and, when in doubt, consult a licensed plumber for your specific situation.

Author
Home & Garden Editorial Team
Home & Garden Editorial Team is the collective byline for our editorial team and contributor network. Articles published under this byline or an editorial pen name are researched, written, and reviewed according to our editorial standards for clarity, consistency, and independence before publication.
View all articles →