
Sealing Air Leaks: The Cheapest Energy Upgrade Most Homeowners Skip
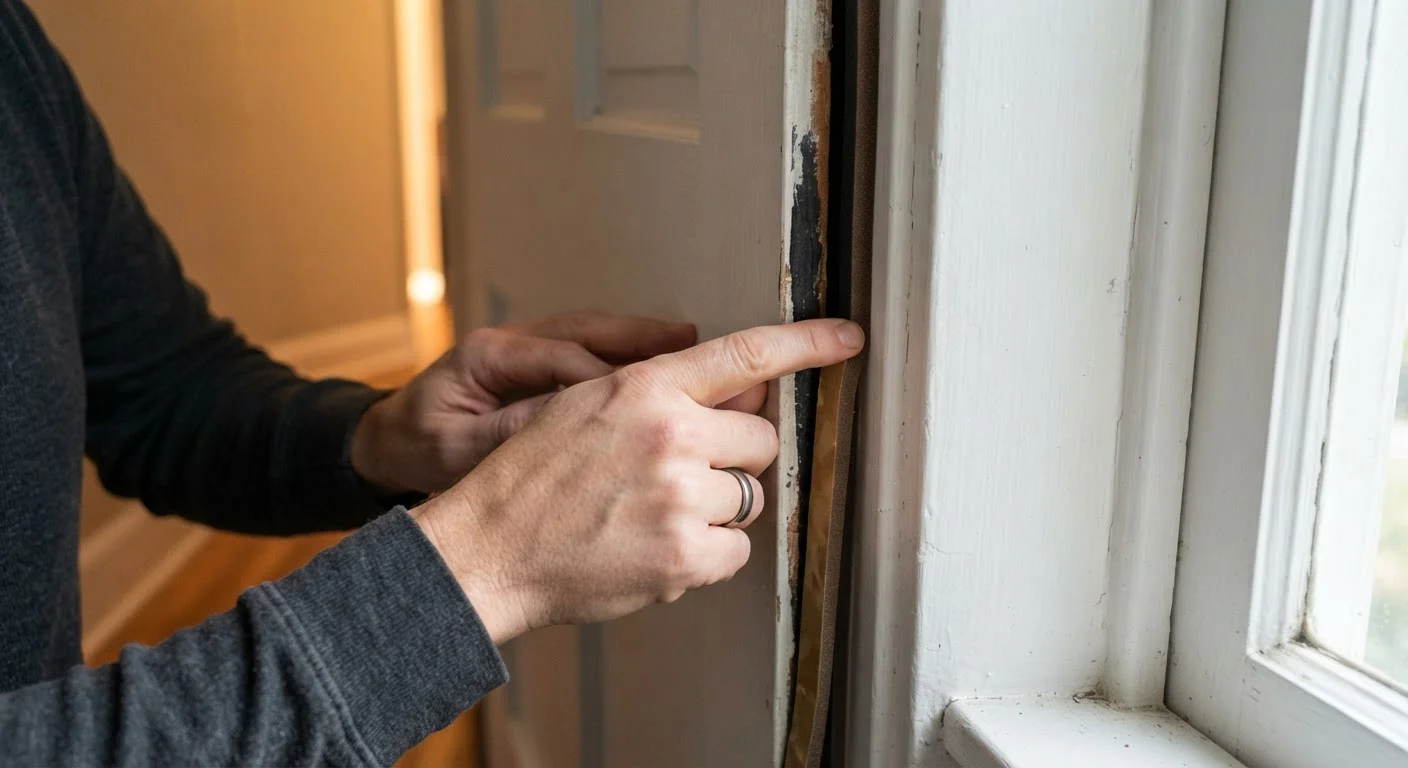
Photo credit: simplefuture.net
In this article
Air sealing is one of the most cost-effective ways to cut heating and cooling bills. Learn where leaks hide and how to address them safely.
Key Takeaways
- Air leaks around doors, windows, and attic penetrations can account for a significant share of a home's heating and cooling loss.
- Caulk and weatherstripping are inexpensive materials that most homeowners can apply without professional help.
- A simple candle or incense stick can help locate hidden drafts before you spend anything.
- Attic bypasses, such as gaps around light fixtures and plumbing chases, are often overlooked but impactful leak points.
- Air sealing works best when paired with adequate insulation, but sealing alone still produces measurable savings.
Why air leaks cost more than most homeowners realize
Gaps in a home's envelope let conditioned air escape and outdoor air push in constantly, not just on the coldest or hottest days. The U.S. Department of Energy has estimated that air infiltration can account for roughly 25 to 40 percent of the energy used for heating and cooling in a typical American home. Unlike upgrading insulation or replacing a furnace, sealing those gaps requires only a few hours and inexpensive materials available at any hardware store.
The reason most homeowners skip this step is that leaks are invisible. Heating and cooling bills feel like a fixed cost of the house rather than a problem with a fix. Once you know where to look, the sources are usually obvious and reachable. See our room-by-room energy efficiency reference for a fuller picture of where each area of your home loses the most energy.
Check your utility for rebate programs
Many electric and gas utilities offer rebates or free weatherization services for qualifying households. Before purchasing materials, contact your utility provider or visit the Database of State Incentives for Renewables and Efficiency (DSIRE) to see what programs are available in your area. Income-qualified households may be eligible for no-cost air sealing through federal weatherization assistance programs.
Where leaks most commonly hide
Air moves through any gap that connects conditioned space to unconditioned space or the outdoors. The most common locations include:
- The perimeter of door and window frames, where caulk shrinks or was never applied
- The bottom of exterior doors, where worn door sweeps let wind pass freely
- Electrical outlets and switch plates on exterior walls, which often have no gasket behind the cover
- Attic hatch frames, which are frequently un-weatherstripped and uninsulated
- Gaps around plumbing pipes, wiring runs, and HVAC ducts where they pass through floors, ceilings, or walls
- Recessed light fixtures installed in ceilings below an attic, which can be open to attic air at the top
- Fireplace dampers left open or poorly sealing when closed
Attic penetrations deserve particular attention. Heat rises, so warm indoor air exits through every gap at ceiling level in winter, drawing cold replacement air in through lower openings. Sealing attic bypasses from inside the attic with caulk or spray foam is one of the highest-return tasks in this entire process.
Tools and materials you will need
What you will need
Caulk gun and paintable latex or silicone caulk
Seals stationary gaps around window frames, door casings, and wall penetrations.
Weatherstripping (foam tape or V-strip)
Compresses to fill the moving gaps along door and window sashes where caulk would crack.
Door sweep or door shoe
Closes the gap between the bottom of an exterior door and the threshold.
Expanding spray foam (low-expansion variety)
Fills larger irregular gaps around pipes, wires, and framing members, particularly in attic spaces.
Foam backer rod
Fills wide gaps before caulking so the caulk bead has a stable backing and does not sink.
Outlet gaskets (foam insulating gaskets)
Fit behind switch plates and outlet covers on exterior walls to block air flow through the electrical box.
Candle, incense stick, or smoke pencil
Detects drafts by revealing air movement as flickering flame or drifting smoke.
How to find and seal air leaks step by step
Conduct a draft inspection on a cold or windy day
Move a lit candle or incense stick slowly along door and window perimeters, electrical outlets, baseboards on exterior walls, and any ceiling penetrations. Flickering or drifting smoke points to air movement. Mark each problem spot with a small piece of painter's tape so you have a clear map before opening any materials.
Caulk stationary gaps around windows and door frames
Cut the caulk tube tip at a 45-degree angle to match the width of the gap, typically 3 to 6 mm. Hold the gun at a consistent angle and move steadily along the joint in one pass. Smooth the bead with a damp finger or a caulk tool and wipe away excess before it skins over. For gaps wider than about 6 mm, press foam backer rod into the gap first, then caulk over it.
Use paintable latex caulk for interior trim joints where paint coverage matters. Use silicone or siliconized latex caulk for exterior joints and areas exposed to moisture, such as window sills and door sills.
Replace or add weatherstripping on doors and windows
Remove old weatherstripping completely before installing new material. Clean the surface with a damp cloth and let it dry. For most door stops, self-adhesive foam tape works for low-traffic doors, while V-strip (tension seal) is more durable for frequently used doors. Press V-strip into the channel between the door stop and the door frame so it flexes against the door when closed.
For the door bottom, measure the width of the door, cut the sweep to length, and attach it so it just grazes the threshold when the door closes. It should create resistance but not drag heavily enough to stress the hinges.
Install foam gaskets behind outlet and switch covers
Turn off the circuit at the breaker box before removing any cover plate. Pull the cover plate off and press the pre-cut foam gasket onto the electrical box so the holes align with the outlets or switches. Replace the cover plate and restore power. This takes about two minutes per outlet and requires no tools beyond a screwdriver.
Seal attic penetrations with caulk or low-expansion spray foam
Put on a respirator, safety glasses, and gloves before entering the attic. Identify gaps where wiring, pipes, and ducts pass through the top plates of interior walls. Small gaps (under about 3 cm) can be sealed with paintable caulk or fire-rated caulk. Larger gaps around pipes and ducts should be filled with low-expansion spray foam, which resists shrinking and air movement far better than standard insulation batts pressed into a gap.
For recessed light fixtures rated IC (insulation contact), you can caulk around their perimeter at the ceiling plane. Non-IC fixtures require a sealed, fire-rated cover installed from the attic side before you apply any insulation or foam near them. Check the fixture label before sealing.
Address the attic hatch or pull-down stair
The attic hatch is often the single largest unaddressed air leak in a house. Add self-adhesive foam weatherstripping around the hatch frame perimeter so the hatch compresses it when closed. For pull-down stair units, cut rigid foam insulation panels to fit the attic-side opening and hinge or attach them so the insulation sits flat against the frame when the stairs are up. Several manufactured covers are available, but a rigid foam panel cut to fit achieves the same result for a fraction of the cost.
This article provides general home improvement information only. Requirements for permits, fire-rated assemblies, and safe product use vary by location. Always follow manufacturer instructions and consult a licensed contractor or building professional when you are uncertain about a specific application, particularly in attics, around electrical fixtures, or near combustion appliances.

Author
Home & Garden Editorial Team
Home & Garden Editorial Team is the collective byline for our editorial team and contributor network. Articles published under this byline or an editorial pen name are researched, written, and reviewed according to our editorial standards for clarity, consistency, and independence before publication.
View all articles →